

Hey there! As a supplier of Silicone Edging Strips, I've had my fair share of customers asking about how to remove these handy little strips. Whether it's for replacement, cleaning, or just a change of scenery, removing a silicone edging strip isn't as daunting as it might seem. In this blog, I'll walk you through the process step by step, sharing some tips and tricks along the way.
Why Remove a Silicone Edging Strip?
Before we dive into the removal process, let's talk about why you might want to remove a silicone edging strip in the first place. There are a few common reasons:
- Replacement: Over time, silicone edging strips can wear out, crack, or lose their effectiveness. If you notice any signs of damage or deterioration, it's probably time to replace the strip.
- Cleaning: Silicone edging strips can accumulate dirt, grime, and mold over time, especially in areas with high moisture levels. Removing the strip allows you to clean it thoroughly and prevent the growth of harmful bacteria.
- Change of Design: Maybe you're redecorating your home or office and want to change the look of your silicone edging strips. Removing the old strips gives you the opportunity to install new ones in a different color, style, or material.
Tools and Materials You'll Need
To remove a silicone edging strip, you'll need a few basic tools and materials. Here's what you'll need:
- Utility Knife: A sharp utility knife will help you cut through the silicone strip and any adhesive holding it in place.
- Scraper: A plastic or metal scraper can be used to gently pry the strip away from the surface.
- Heat Gun or Hairdryer: Applying heat to the silicone strip can soften the adhesive and make it easier to remove.
- Rubbing Alcohol or Adhesive Remover: These substances can help dissolve the adhesive and make it easier to clean the surface after the strip has been removed.
- Clean Cloth: You'll need a clean cloth to wipe away any residue or debris left behind after the strip has been removed.
Step-by-Step Removal Process
Now that you have all the necessary tools and materials, let's get started with the removal process. Here's a step-by-step guide:
- Prepare the Area: Before you start removing the silicone edging strip, make sure the area is clean and dry. Remove any dirt, dust, or debris from the surface using a clean cloth or vacuum cleaner.
- Cut the Strip: Use a sharp utility knife to cut through the silicone strip at one end. Make sure to cut as close to the surface as possible to avoid damaging the surrounding area.
- Apply Heat: If the strip is held in place by adhesive, apply heat to the strip using a heat gun or hairdryer. Hold the heat source about 6-8 inches away from the strip and move it back and forth until the adhesive softens.
- Pry the Strip Away: Once the adhesive has softened, use a plastic or metal scraper to gently pry the strip away from the surface. Start at one end of the strip and work your way along, applying gentle pressure to lift the strip off the surface.
- Remove Any Residue: After the strip has been removed, there may be some adhesive residue left on the surface. Use rubbing alcohol or an adhesive remover to dissolve the residue and wipe it away with a clean cloth.
- Clean the Surface: Once all the residue has been removed, clean the surface with a mild detergent and water to remove any remaining dirt or debris. Dry the surface thoroughly before installing a new silicone edging strip.
Tips and Tricks
Here are some tips and tricks to make the removal process easier and more effective:
- Use a Sharp Knife: A dull knife can make it difficult to cut through the silicone strip and may damage the surface. Make sure to use a sharp utility knife to ensure a clean cut.
- Be Gentle: When prying the strip away from the surface, be gentle to avoid damaging the surface or the strip itself. Use a plastic or metal scraper to apply gentle pressure and lift the strip off the surface.
- Apply Heat Evenly: When using a heat gun or hairdryer, make sure to apply heat evenly to the entire strip to avoid overheating or damaging the surface.
- Test the Adhesive Remover: Before using an adhesive remover on the surface, test it on a small, inconspicuous area to make sure it doesn't damage the surface or leave any residue.
- Wear Protective Gear: When using a utility knife, heat gun, or adhesive remover, make sure to wear protective gear such as gloves and safety glasses to avoid injury.
Conclusion
Removing a silicone edging strip doesn't have to be a difficult or time-consuming process. With the right tools, materials, and techniques, you can easily remove the strip and clean the surface in no time. Whether you're replacing the strip, cleaning it, or changing the design, following these steps will help you get the job done quickly and efficiently.

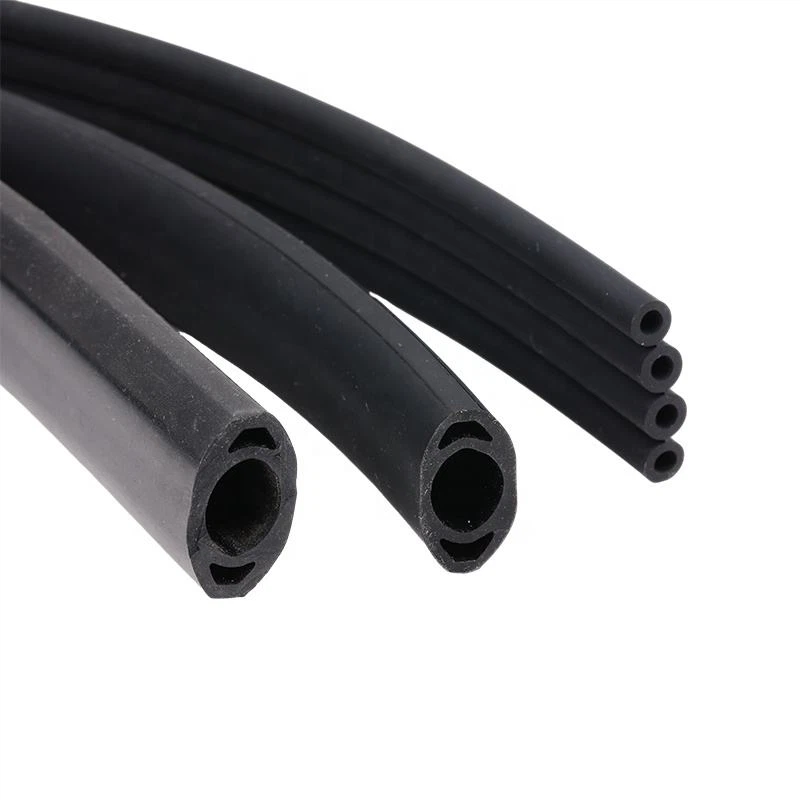
If you're in the market for high-quality silicone edging strips, we've got you covered. We offer a wide range of Silicone Sponge Strip and Special Shaped Silicone Strip Special Shaped Silicone Strip to suit your needs and preferences. Our products are made from the highest quality materials and are designed to provide long-lasting performance and durability.
If you have any questions or need further assistance, please don't hesitate to contact us. We're here to help you find the perfect silicone edging strips for your project and provide you with the support and guidance you need to install them correctly.
References
- "How to Remove Silicone Sealant" - DIY Doctor
- "Removing Silicone Caulk" - This Old House
- "Tips for Removing Silicone Adhesive" - Home Guides